jiangjufang@zpslc.com
+86-18957319083
Content
A yard sign is only as effective as its installation. A crooked, unstable, or poorly placed sign undermines your message. Proper installation transforms a simple yard sign into a durable, high-visibility communication tool that withstands weather and captures attention. This guide provides technical, actionable steps to ensure every yard sign you install stands straight, remains secure, and delivers results.
Before installation, evaluate the ground. Soft, moist soil is ideal for a yard sign. Hard, dry clay, rocky terrain, or frozen ground requires additional preparation. For difficult soil, water the area lightly and wait several minutes for absorption. This simple step prevents stake bending and ensures a smooth insertion. For frozen ground, consider a pilot hole using a masonry drill bit.
Having the correct tools on hand streamlines the process. Essential items include:
Work on a flat, clean surface like a tailgate or grassy area to avoid scratching the sign face.
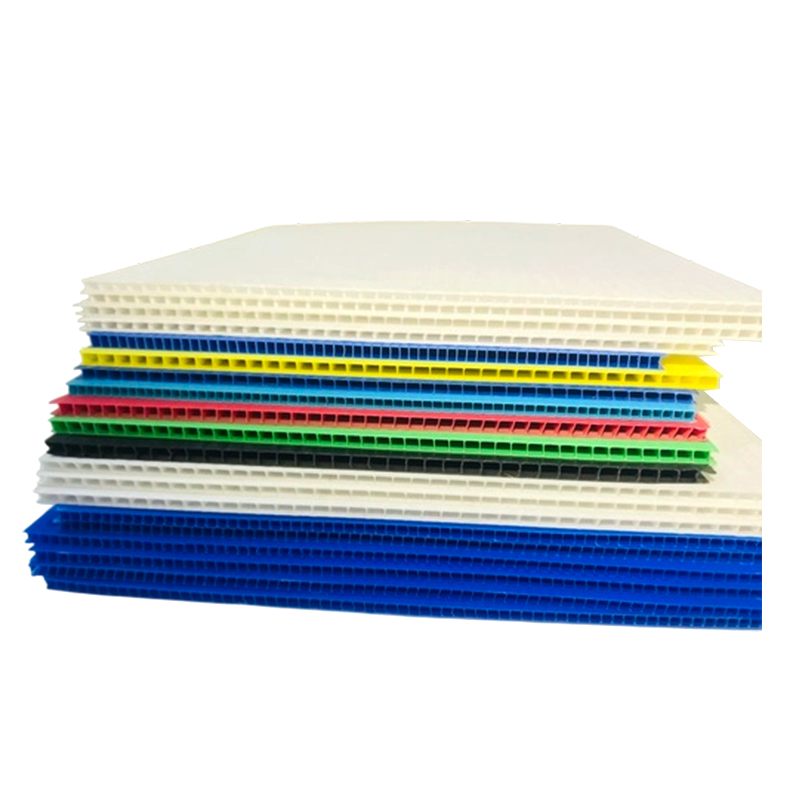
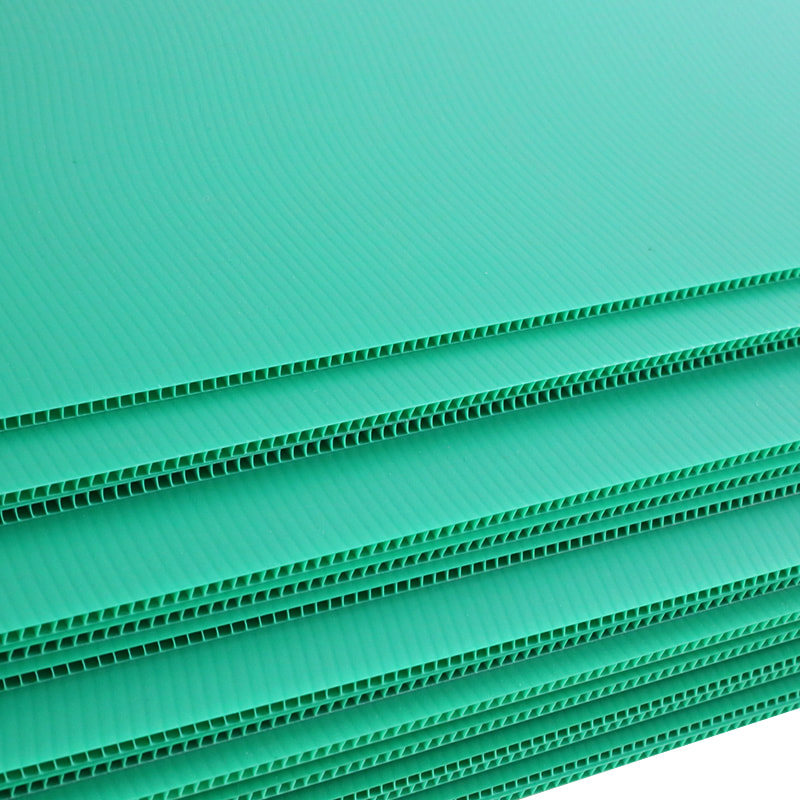
Most standard yard sign kits include a corrugated plastic panel and a metal stake. Common stake types are H-stakes or wire stakes. The H-stake resembles an 'H' and inserts into the sign's internal flutes. These flutes are vertical hollow channels within the corrugated plastic. Correctly aligning the stake prongs with these flutes is critical for a secure fit.
| Stake Type | Best Use Case | Key Feature |
|---|---|---|
| Standard H-Stake / Wire Stake | 18" x 24" corrugated plastic signs, short-term use | Easy to install, cost-effective |
| Heavy-Duty Metal Stake | Larger signs, windy areas, long-term display | Enhanced stability and wind resistance |
| Green Channel Stake | Heavy signs, professional installations | Includes a foot peg for body-weight insertion |
Lay the yard sign flat on a clean surface. Using a marker, identify the flutes on the bottom edge. Mark two points that align with these flutes, spaced to match your stake prongs (typically 8 to 10 inches apart). This step ensures straight, snag-free insertion.
Align the top prongs of the H-stake with your marked flute points. Gently slide the stake upward into the sign's bottom edge. Use a "walking" motion, pushing one prong slightly then the other, until the horizontal crossbar of the stake is flush with the sign's bottom. Avoid forcing the stake; realign if you encounter resistance.
Select a visible spot free of obstructions like trees, parked cars, or utility poles. Place the sign close to the road or walkway, but comply with local setback ordinances. Ensure the location doesn't block driver sightlines or create pedestrian hazards.
Holding the stake vertically, push the bottom prongs into the soil using steady pressure. On soft ground, use foot pressure on the bottom crossbar. On hard ground, gently tap the top crossbar with a rubber mallet, never striking the sign panel itself. Drive the stake until the bottom crossbar is near or at ground level, typically achieving a depth of 6 to 8 inches.
Step back and view the yard sign from the primary viewing angle (e.g., the road). Ensure it is straight, readable, and not tilted. Adjust as necessary. A straight sign appears more professional and maximizes readability.
A driver typically has only a few seconds to process a yard sign message. Perform the '2-Second Test' by driving the route at the posted speed limit. If you cannot read the key message within that timeframe, relocate the sign or increase contrast.
Position the sign face slightly angled toward oncoming traffic rather than parallel to the road. This increases the "read window" duration. Proper elevation, with the sign's center 12 to 24 inches above the ground, helps overcome roadside clutter.
Wind is the primary enemy of a yard sign. To improve stability:
A professional installation includes ongoing care. Establish a maintenance cycle to straighten leaning stakes and wipe down sign faces. Road grime can dull graphics; a quick rinse with water and a soft cloth preserves vibrancy.
Before installing any yard sign, check local regulations. Most municipalities enforce setback rules, dictating minimum distances from curbs, sidewalks, and property lines. Verify restrictions on sign size, duration, and placement in public rights-of-way. Always call 811 or check for underground utility lines before driving stakes into the ground.
Soften the earth by pouring water over the site and waiting ten minutes. If frozen, use a masonry drill bit to create pilot holes for the H-stake prongs to prevent bending.
Avoid standard metal hammers; they can deform the stake. Use a rubber mallet for gentle tapping or apply steady foot pressure on the stake's crossbar.
Aim for the sign's center to be 12 to 24 inches above ground level. This elevation helps overcome roadside clutter like parked cars and tall grass.
Use heavy-duty stakes, drive them at least 6 inches deep, add wind slits, or double up on stakes for larger signs.
Identify the vertical flutes in the corrugated plastic. Mark alignment points on the bottom edge that match the stake prong spacing. Slide the stake into these marked flutes to avoid damaging the sign.
Products
Contact Us
Email: jiangjufang@zpslc.com
FAX: +86-573-85767773
Phone: +86-18957319083
Tel: +86-573-85761221
WhatsApp: +86-13356049083
Wechat: +86-13355839083
Address: No. 188 Guangyuan Road, Guangchen Town, Pinghu City, Zhejiang Province, China

 English
 Français
 Español
 عربى
عربى
 Deutsch